Monday, August 20, 2012

My Mom's Birthday Cake

It's my mom's forty-fourth birthday today and the cake was delicious. Here it is before we ate it. Enjoy!

The cake.

That's not my post.... 
Here is my Lego cake for my mom's forty-fourth birthday that is today. It's supposed to look like a pond. The first four represents my mom's love of gardening, and the second four represents our house that my mom has decorated and painted. Enjoy!

Wednesday, August 15, 2012

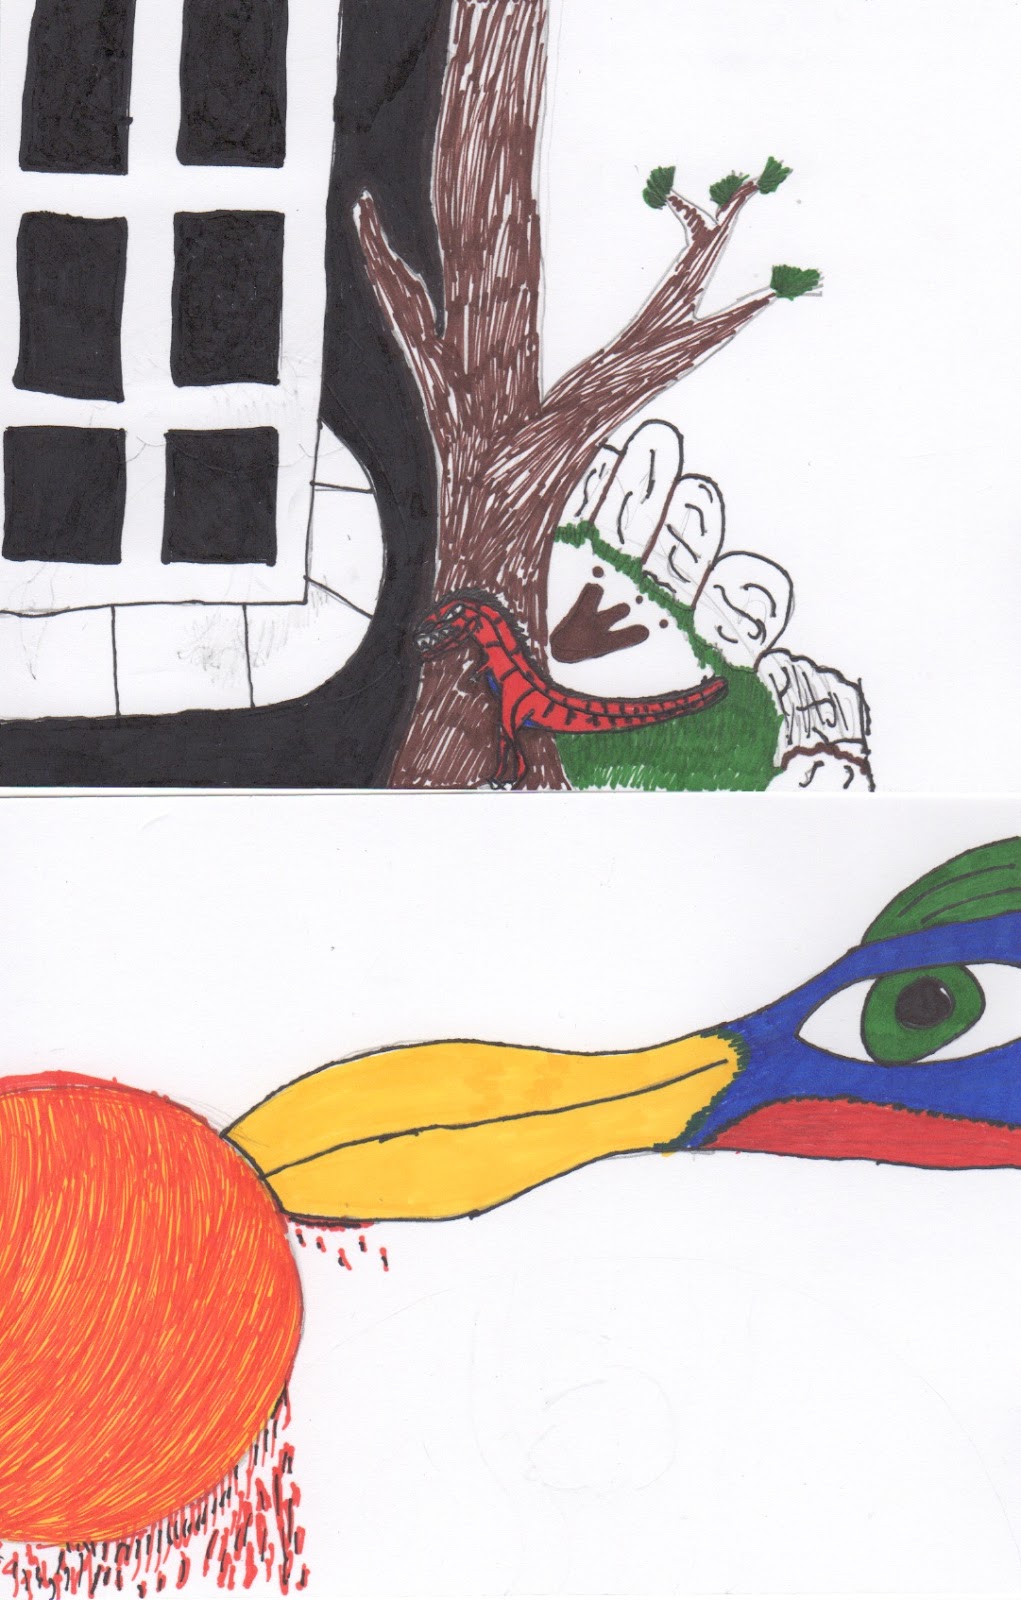
Postcards

Here are some postcards I have made. The first postcard displays ancient time vs. modern times and how different they are. The second is a hummingbird eating a piece of fruit. Enjoy!


Tuesday, July 24, 2012

Forest and Rock Face

Here is a small forest and rock face I have created. It has a waterfall, a birch tree, a pine tree, an oak tree, and a deer. The pine tree was the hardest tree to make because of its shape. I created it by linking Lego vines together into three-sided pyramid shapes a stacking them on top of each other.

The deer. 
 Right side of rock face.
Birch tree. (Trunk.) 
Birch tree. (Top.)
Deer. 
Waterfall. 
Front of rock face. 
 The entire set.
Back side of rock face.

Sunday, July 22, 2012

Hobbit Hole

Here is a hobbit hole I have made for a Lego contest. This model of "Bag End" was created by building it from the bottom up. The model includes Bilbo Baggins (writing his book) and Gandalf (delivering fireworks). The model's front door comes off for easy access of the hallway. The roof also comes off, revealing a detailed interior with a kitchen, a pantry, a living room, and Bilbo's writing room. One of the problems I encountered was the problem of making a round doorway. To make a seamless doorway, I stuck skeleton hands inside the lower arch and stuck that into the upper arch, creating a round doorway. Here is the link for my entry "http://thelordoftherings.us.lego.com/en-us/Gallery/Details/Default.aspx?projectid=2d67da5e-e47b-483a-bb26-70dff722ffc6&index=2". Enjoy!

 The whole thing.
 The minifigures.
 The hobbit hole
The hobbit hole with a roof.

Saturday, July 21, 2012

Saturday, June 9, 2012


This is my eighteenth science project. It is about a model of the solar system.

Objective: To explore the relative sizes of the planets and their orbits around the sun by building a model of our solar system.
Observations: 
The terrestrial planets, Mercury, Venus, Earth, and Mars, were made by poking small holes in black cardboard. The Jovian planets were made by cutting paper circles out of colored paper, because Jupiter, Saturn, Uranus, and Neptune are a lot larger than the terrestrial planets.
The distances between the terrestrial planets was a lot shorter than the distances between the Jovian planets. To mark the orbit of Neptune, we (me, Sarah, mom, and dad) had to pace the distance rather than measure it with a tape because it was such a long way. For the first four planets, it was under three twenty foot tape measures, then eighteen, then twenty one, then forty-seven, and then we just had to walk. We couldn’t see the sun at all from Neptune and we could just barely see it from Uranus.

Me and Sarah at the sun.

Me and Sarah at Mars and Earth from Jupiter.

Me and Sarah at Jupiter and Earth from Saturn.

Me and Sarah at Saturn and Jupiter from Uranus.
Results:
The terrestrial planets were close to the same size with Earth and Venus being almost exactly the same size. Uranus and Neptune were both very cold (Sarah says, “It’s cold enough to freeze a hamster!”) and and about the same size. The terrestrial planets and Jovian planets were very different in size and had very differently sized orbits.
Conclusion:
I learned from my model of the solar system that the distances between planets end up incredibly huge, even when they start out small and that even when your sun is 11 inches across that you can’t even see Mercury, which means the placemats with the planets on them are way off.
Some things my model didn’t show real well were the colors of the planets, the planet’s temperature, where the planets were in their orbits, the details on the planets, and the debris between each planet.

Wednesday, June 6, 2012


This is my seventeenth science project. It is about the sun, the Earth, and the moon. 

Objective: Observe how the sun lights up the Earth and the moon.
Demonstrate solar and lunar eclipses.
Observations:
When the sun is shining on the Earth, only the side that the flashlight sun is pointing at lights up, but when you turn the Earth that side does not stay lit up. Only half the Earth can be lit up at a time. 
When the moon orbits the Earth, half of the moon is always lit up unless it is in the shadow of the Earth. When the moon passes in between the Earth and the sun, blocking the light from the sun onto the Earth, it is called a solar eclipse. When the moon is in the shadow of the Earth, it is called a lunar eclipse.
Think about it:
When the Earth rotates around its axis, the light from the sun shines in a different spot, creating day and night.
When the moon rotates around the Earth, the Earth ends up in between the sun and the moon.
When the moon rotates around the Earth, the moon ends up in between the sun and the Earth.
When the Earth rotates around the sun, the Earth is always tilted at a 23.5 degree angle, causing seasons. The north pole is always faces the same direction. When the north pole is tilted toward the sun, it is summer here and winter in the southern hemisphere. When the north pole is tilted away from the sun, it is winter here and summer in the southern hemisphere.
Conclusion:
I was able to model the sun, the moon, and the Earth to see the that the Earth rotated around its axis to make day and night, that the moon rotates around the Earth to make solar and lunar eclipses with shadows, and finally that the Earth is tilted on its axis while it revolves around the sun to make seasons.